Making Noise in the Makerspace
18 Jul 2019 Posted in:digital humanities scholars lab Crossposted to the scholarslab blog
I’m a musician in my life outside of work, and one of my goals in the coming year is to explore the ways in which this part of my identity might intersect with my professional life as a DH teacher and researcher. I’m still working out what this looks like, but, for now, I’m exploring how critical making can give me a clearer sense of the technologies involved in musical production.
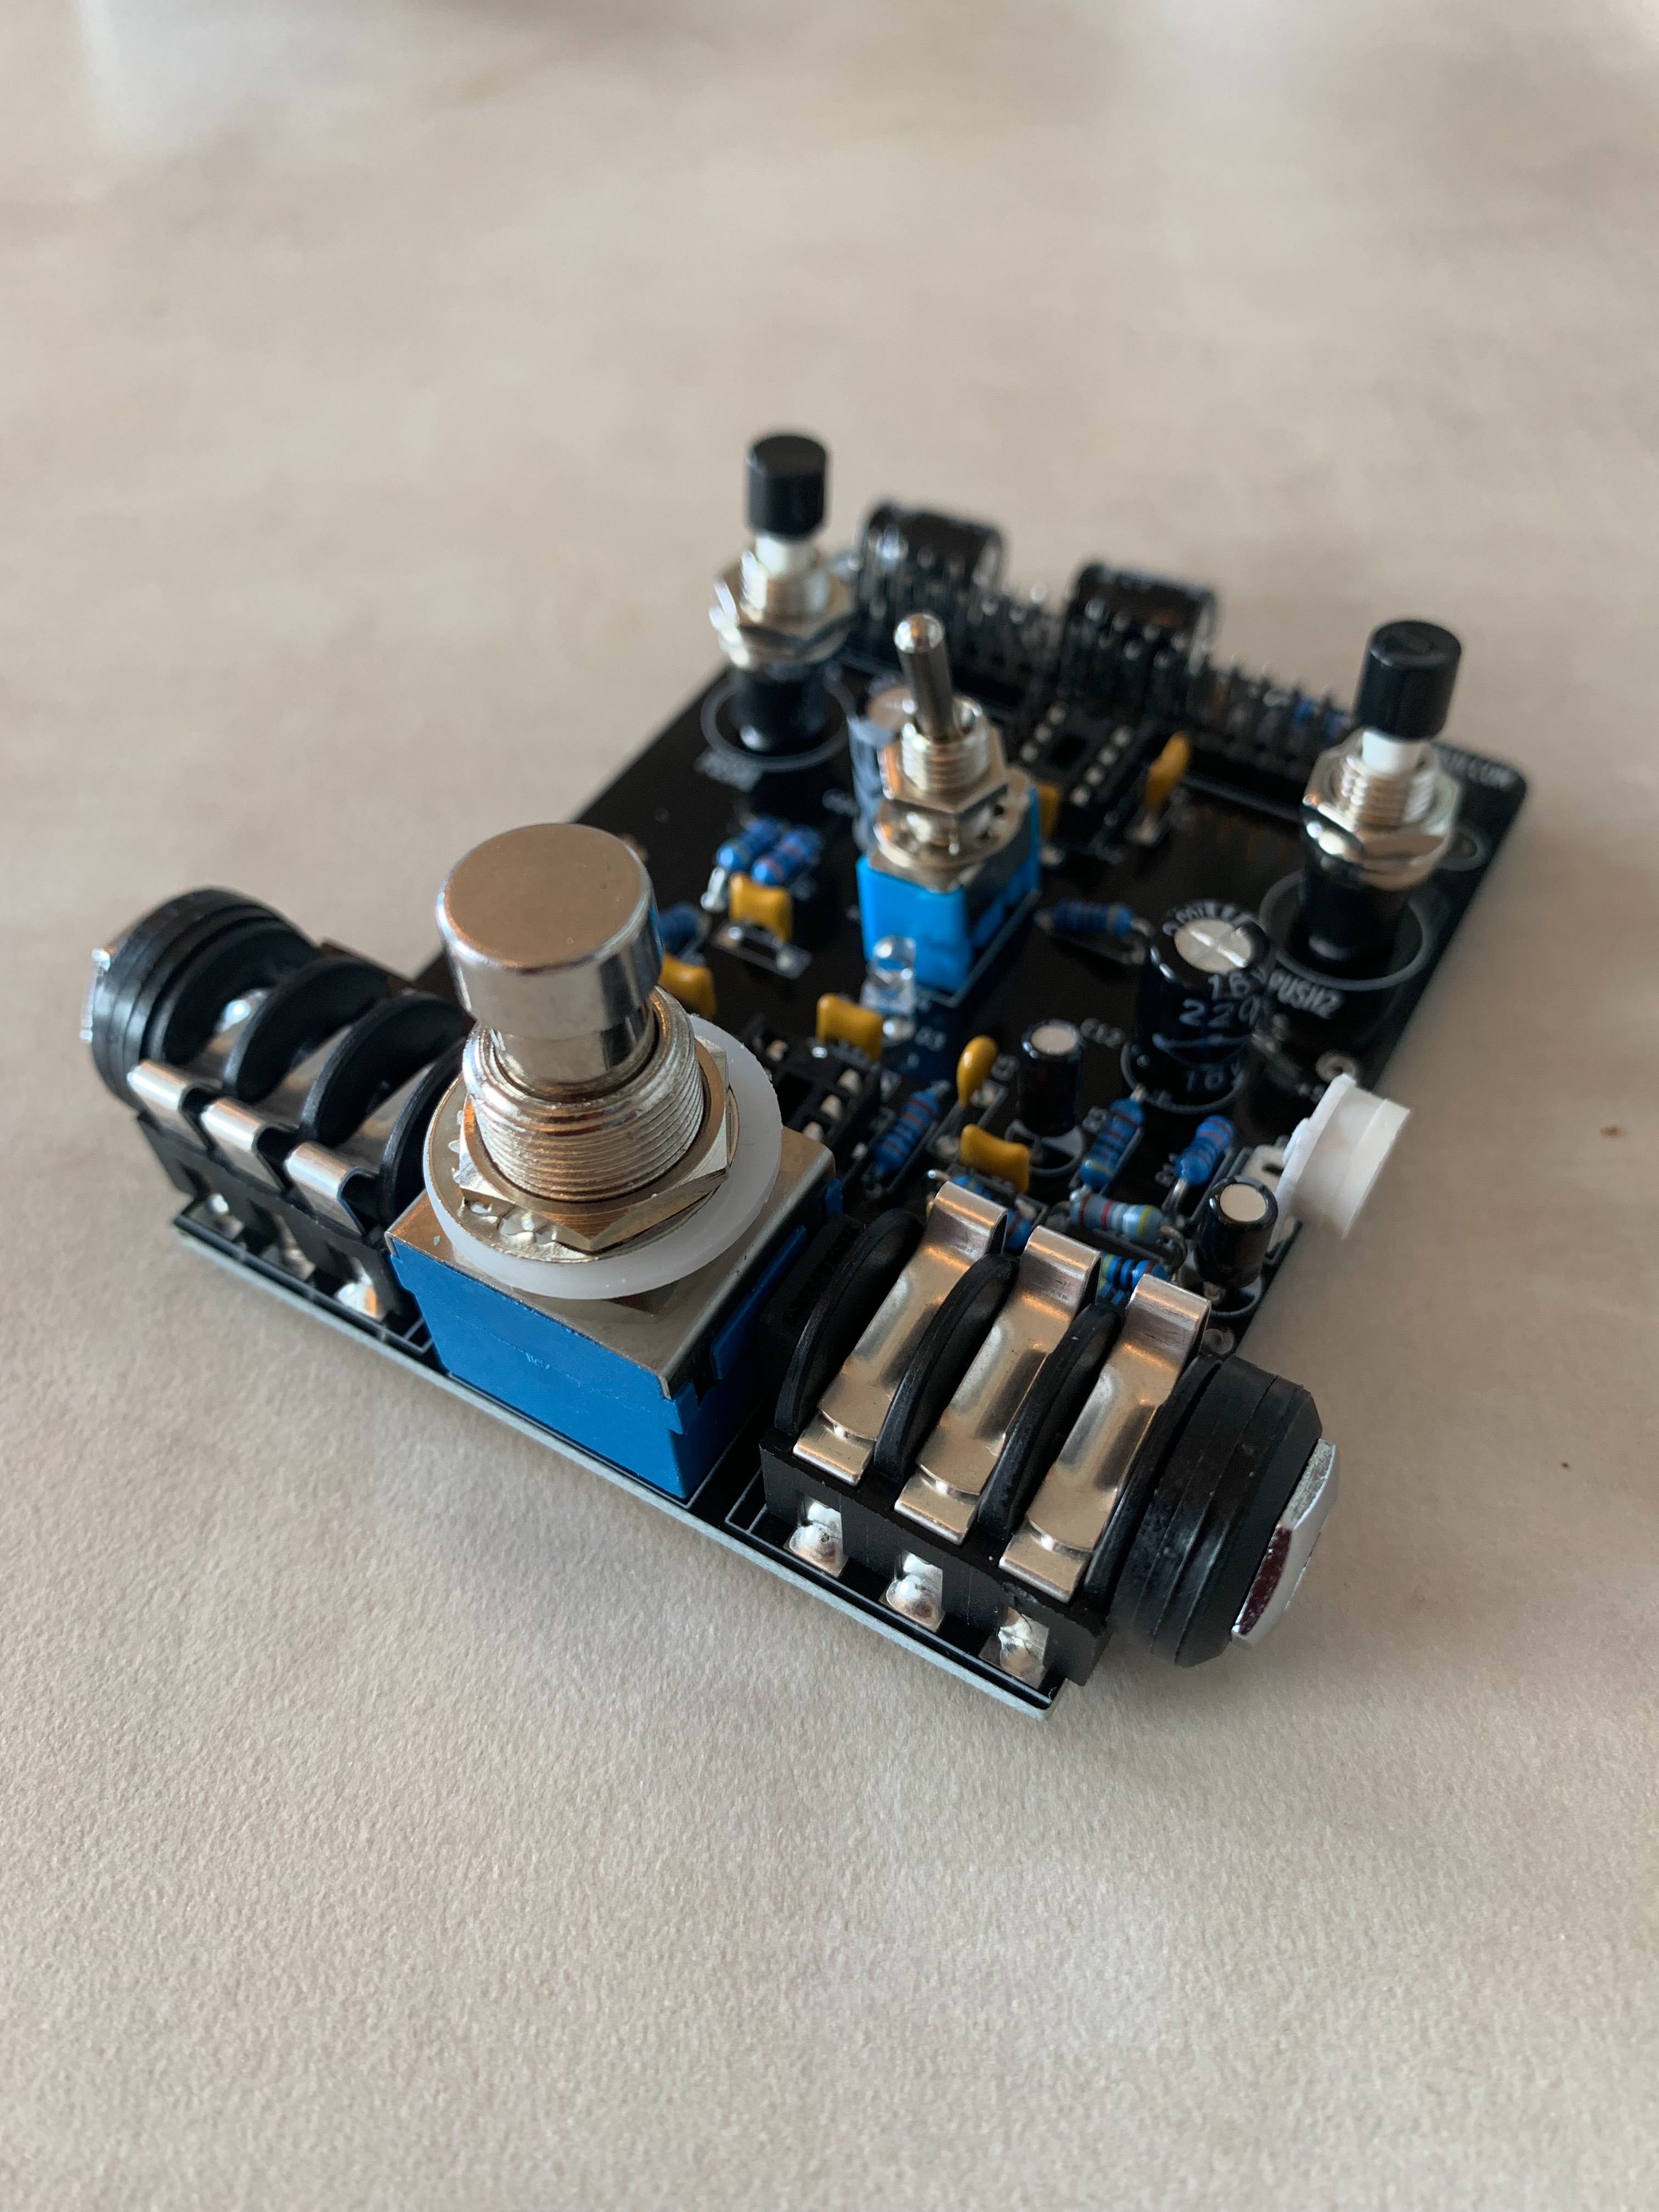
One thing I’ve been working on is the Pedal-Pi - a kit for building a guitar pedal that runs off a Raspberry Pi Zero. I picked this kit because it comes with just about every component you need to get going, as opposed to some other models that provide you with a shopping list but leave you to do the ordering (these options wound up being much more expensive all told). I’m interested in this project for a few reasons. For one, I don’t really have much sense at all of how electronics work or how the stuff I’m doing with an instrument gets processed into a digital format. For another, this pedal is pretty customizable. It comes with a variety of scripts written in C that you can use for effects out of the box, and I know just enough about programming to want to poke around under the hood of the thing.
Ammon ordered two kits for me in case I messed one up, which, as I describe below, turned out to be prophetic. Below is a short, bulleted list of reflections on the process so far.
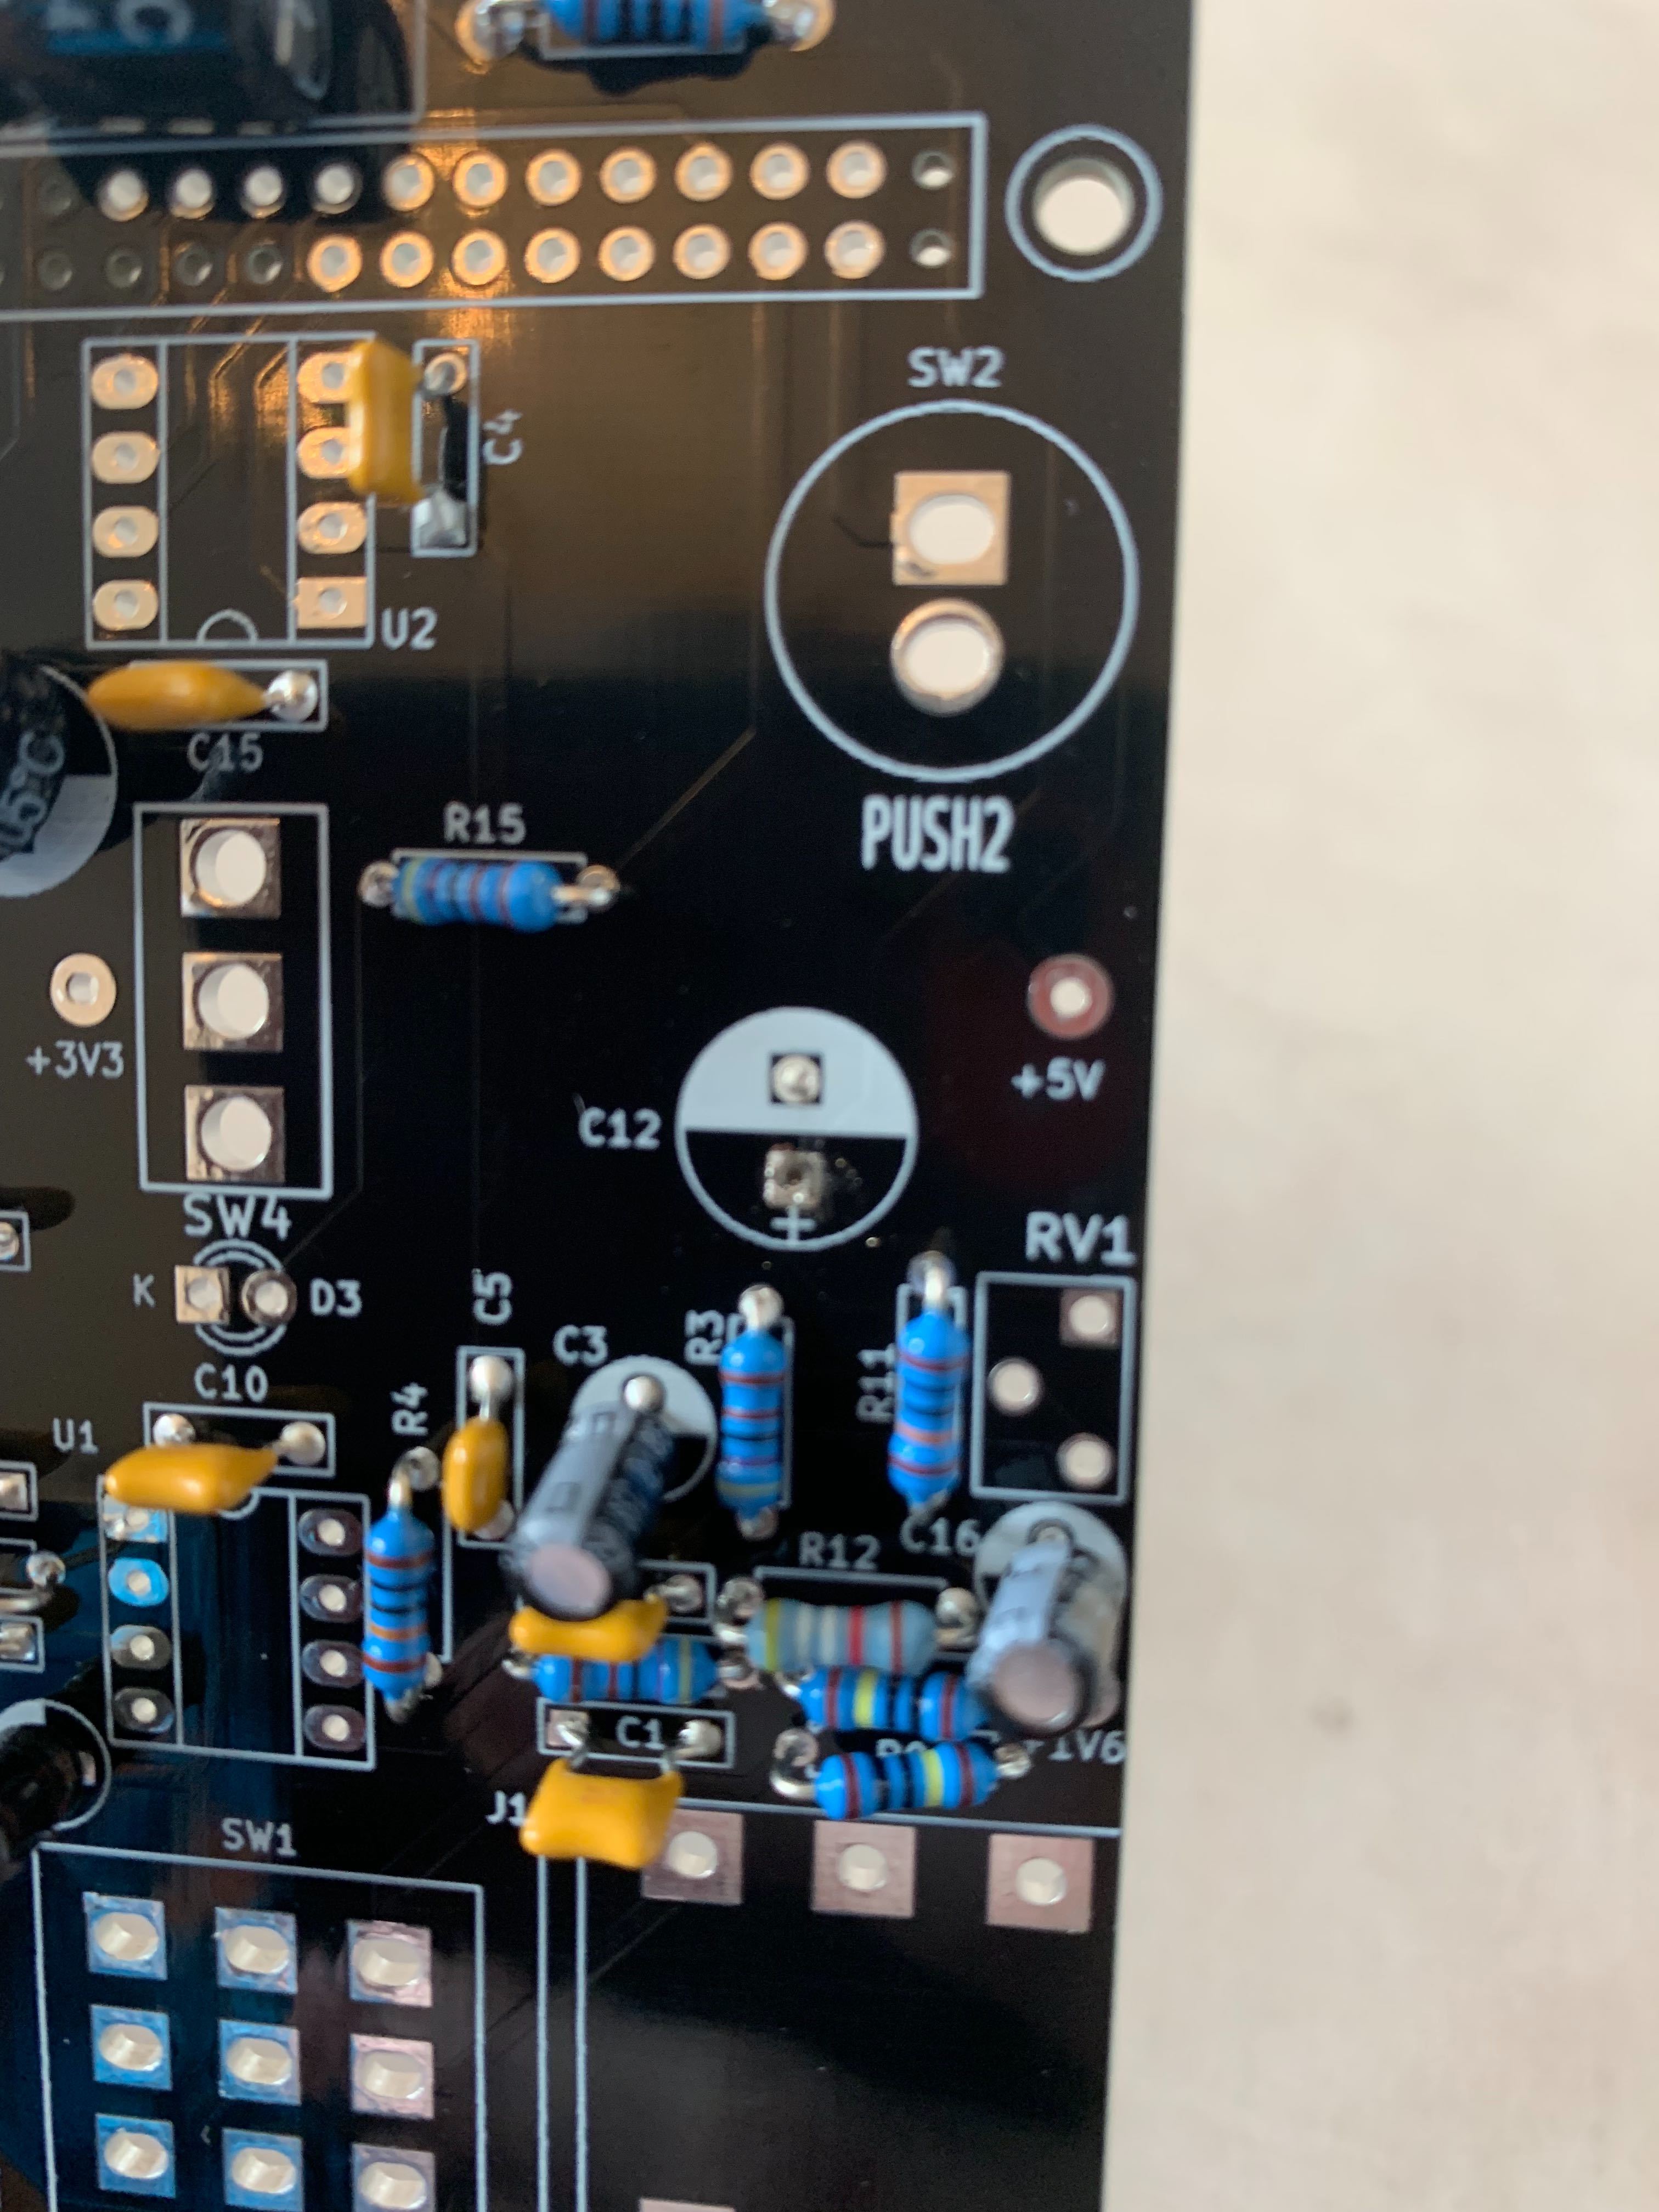
- The electronics (mostly) aren’t the problem. When I first started soldering, I was terrified I would mess something up, so I went slowly to make sure I didn’t set things on fire. Ironically, the first major issue I encountered had nothing to do with the electronics portion of the project. The issue was that I just wasn’t paying attention. Even after mentally repeating to myself again and again “OK A, B, and C get soldered into X, Y, and Z,” I still accidentally soldering something into hole D. It was reassuring to find that the main difficulties with the project were human. If you look closely at the C12 circle here you can see the remnants of the solder from where I put a component in the incorrect hole.
-
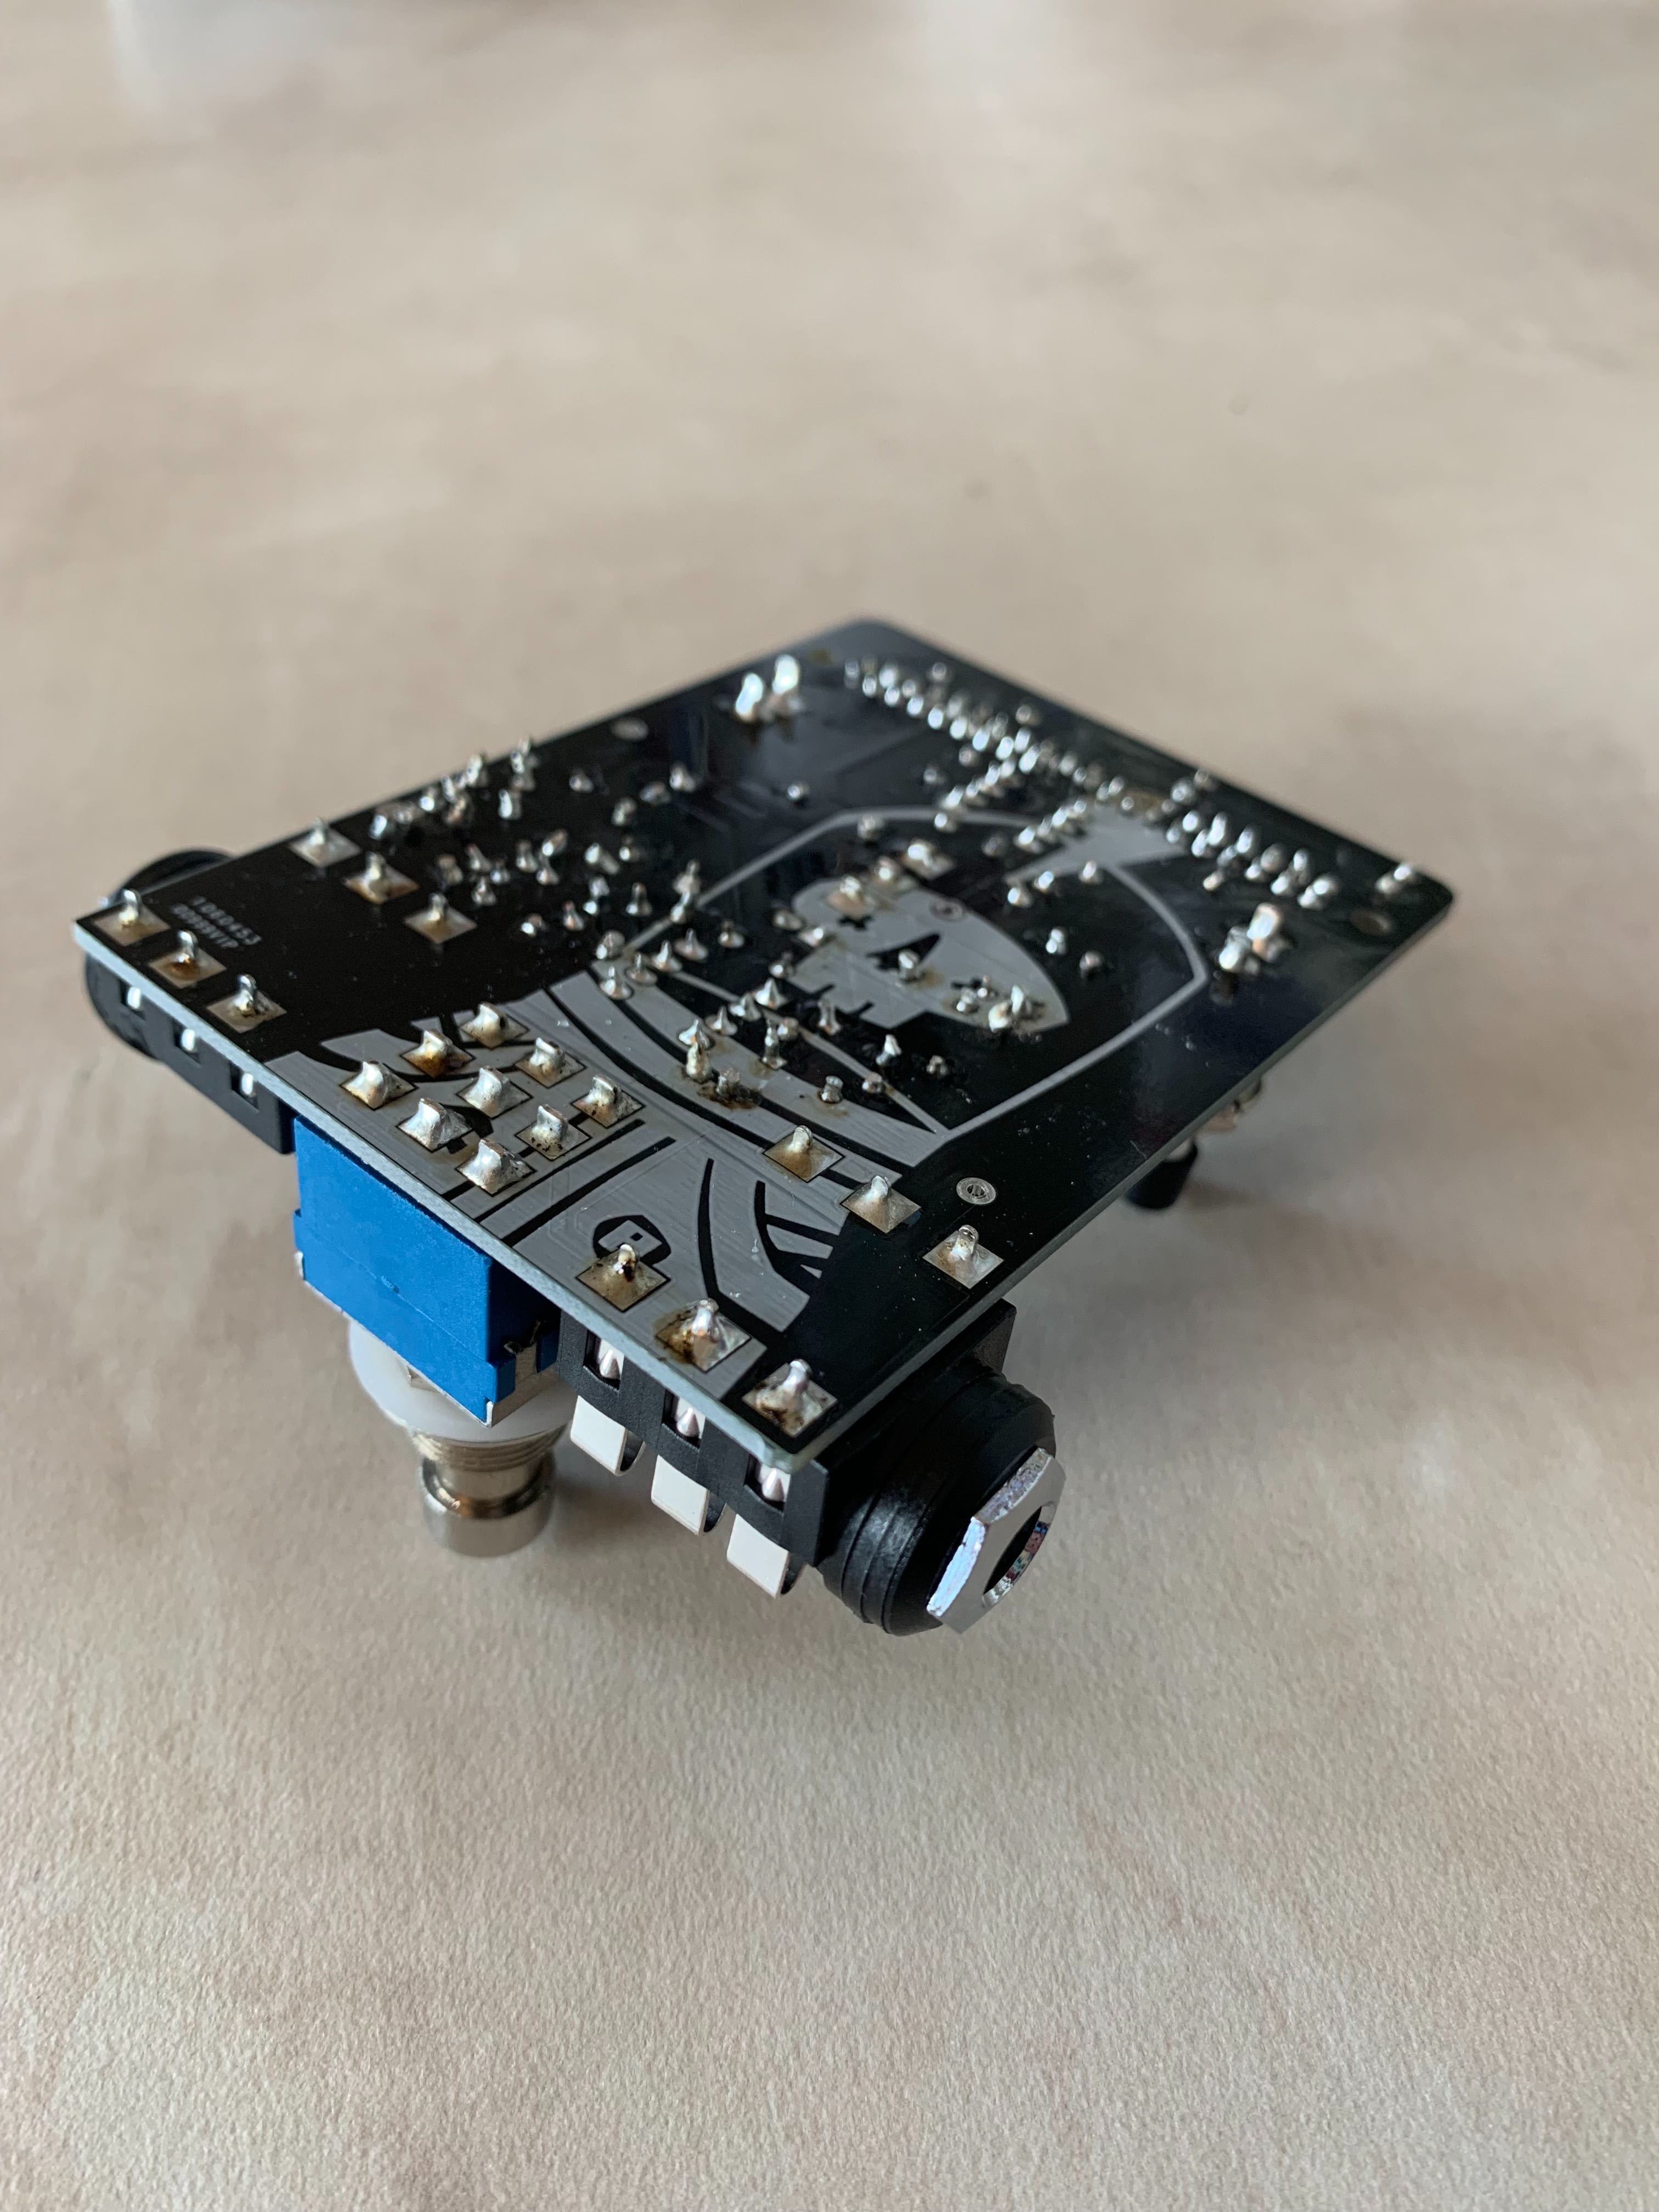
Like anything else, you get better with practice. I put a couple hours of work into the first pedal before I made the above mistake and shifted gears to start working on the backup kit. With that experience under my belt, I watched a couple soldering videos online to improve my technique. I was surprised to find that most of my bad results were because because I was too afraid. In most cases, I hadn’t applied enough heat to either the board or the component to get the solder to flow and connect well. The moral here - fear might be the mind-killer, but it also makes for some pretty lousy solder joints. I moved several times more quickly on the second pedal, and my work looked a lot better. I also started to compartmentalize the process a little. Rather than soldering one thing, checking my progress, and moving on, I would get several components in place before soldering them all at once. This process was a lot quicker, easier, and more effective. But it required me to have a little more confidence. Could always be better, but check out the joints on the second, improved pedal.
-
Even with electronics you can correct mistakes. Once I soldered a component in the wrong hole, I thought that the pedal was hopeless. But Shane showed me how to use desoldering wick, a material used to draw out unwanted solder, so that we could correct my error. We were able to heat the solder again and pull out the component that was in the wrong place, but that hole remained filled in. In order to clear the hole so that I can put new components in it, I’ll need to get a finer tip for our soldering iron. But I was surprised how many of the decisions we were making - actions that felt permanent - could still be undone. At one point, Shane went over a number of my joints on the first pedal and reshaped them for stronger and more conductive connections. I think I had this view that a circuit either worked or did not, and I was impressed with how a little tinkering could help you move between categories. I’m certain there are limits to all this, but I was surprised just how much flexibility you have.
-
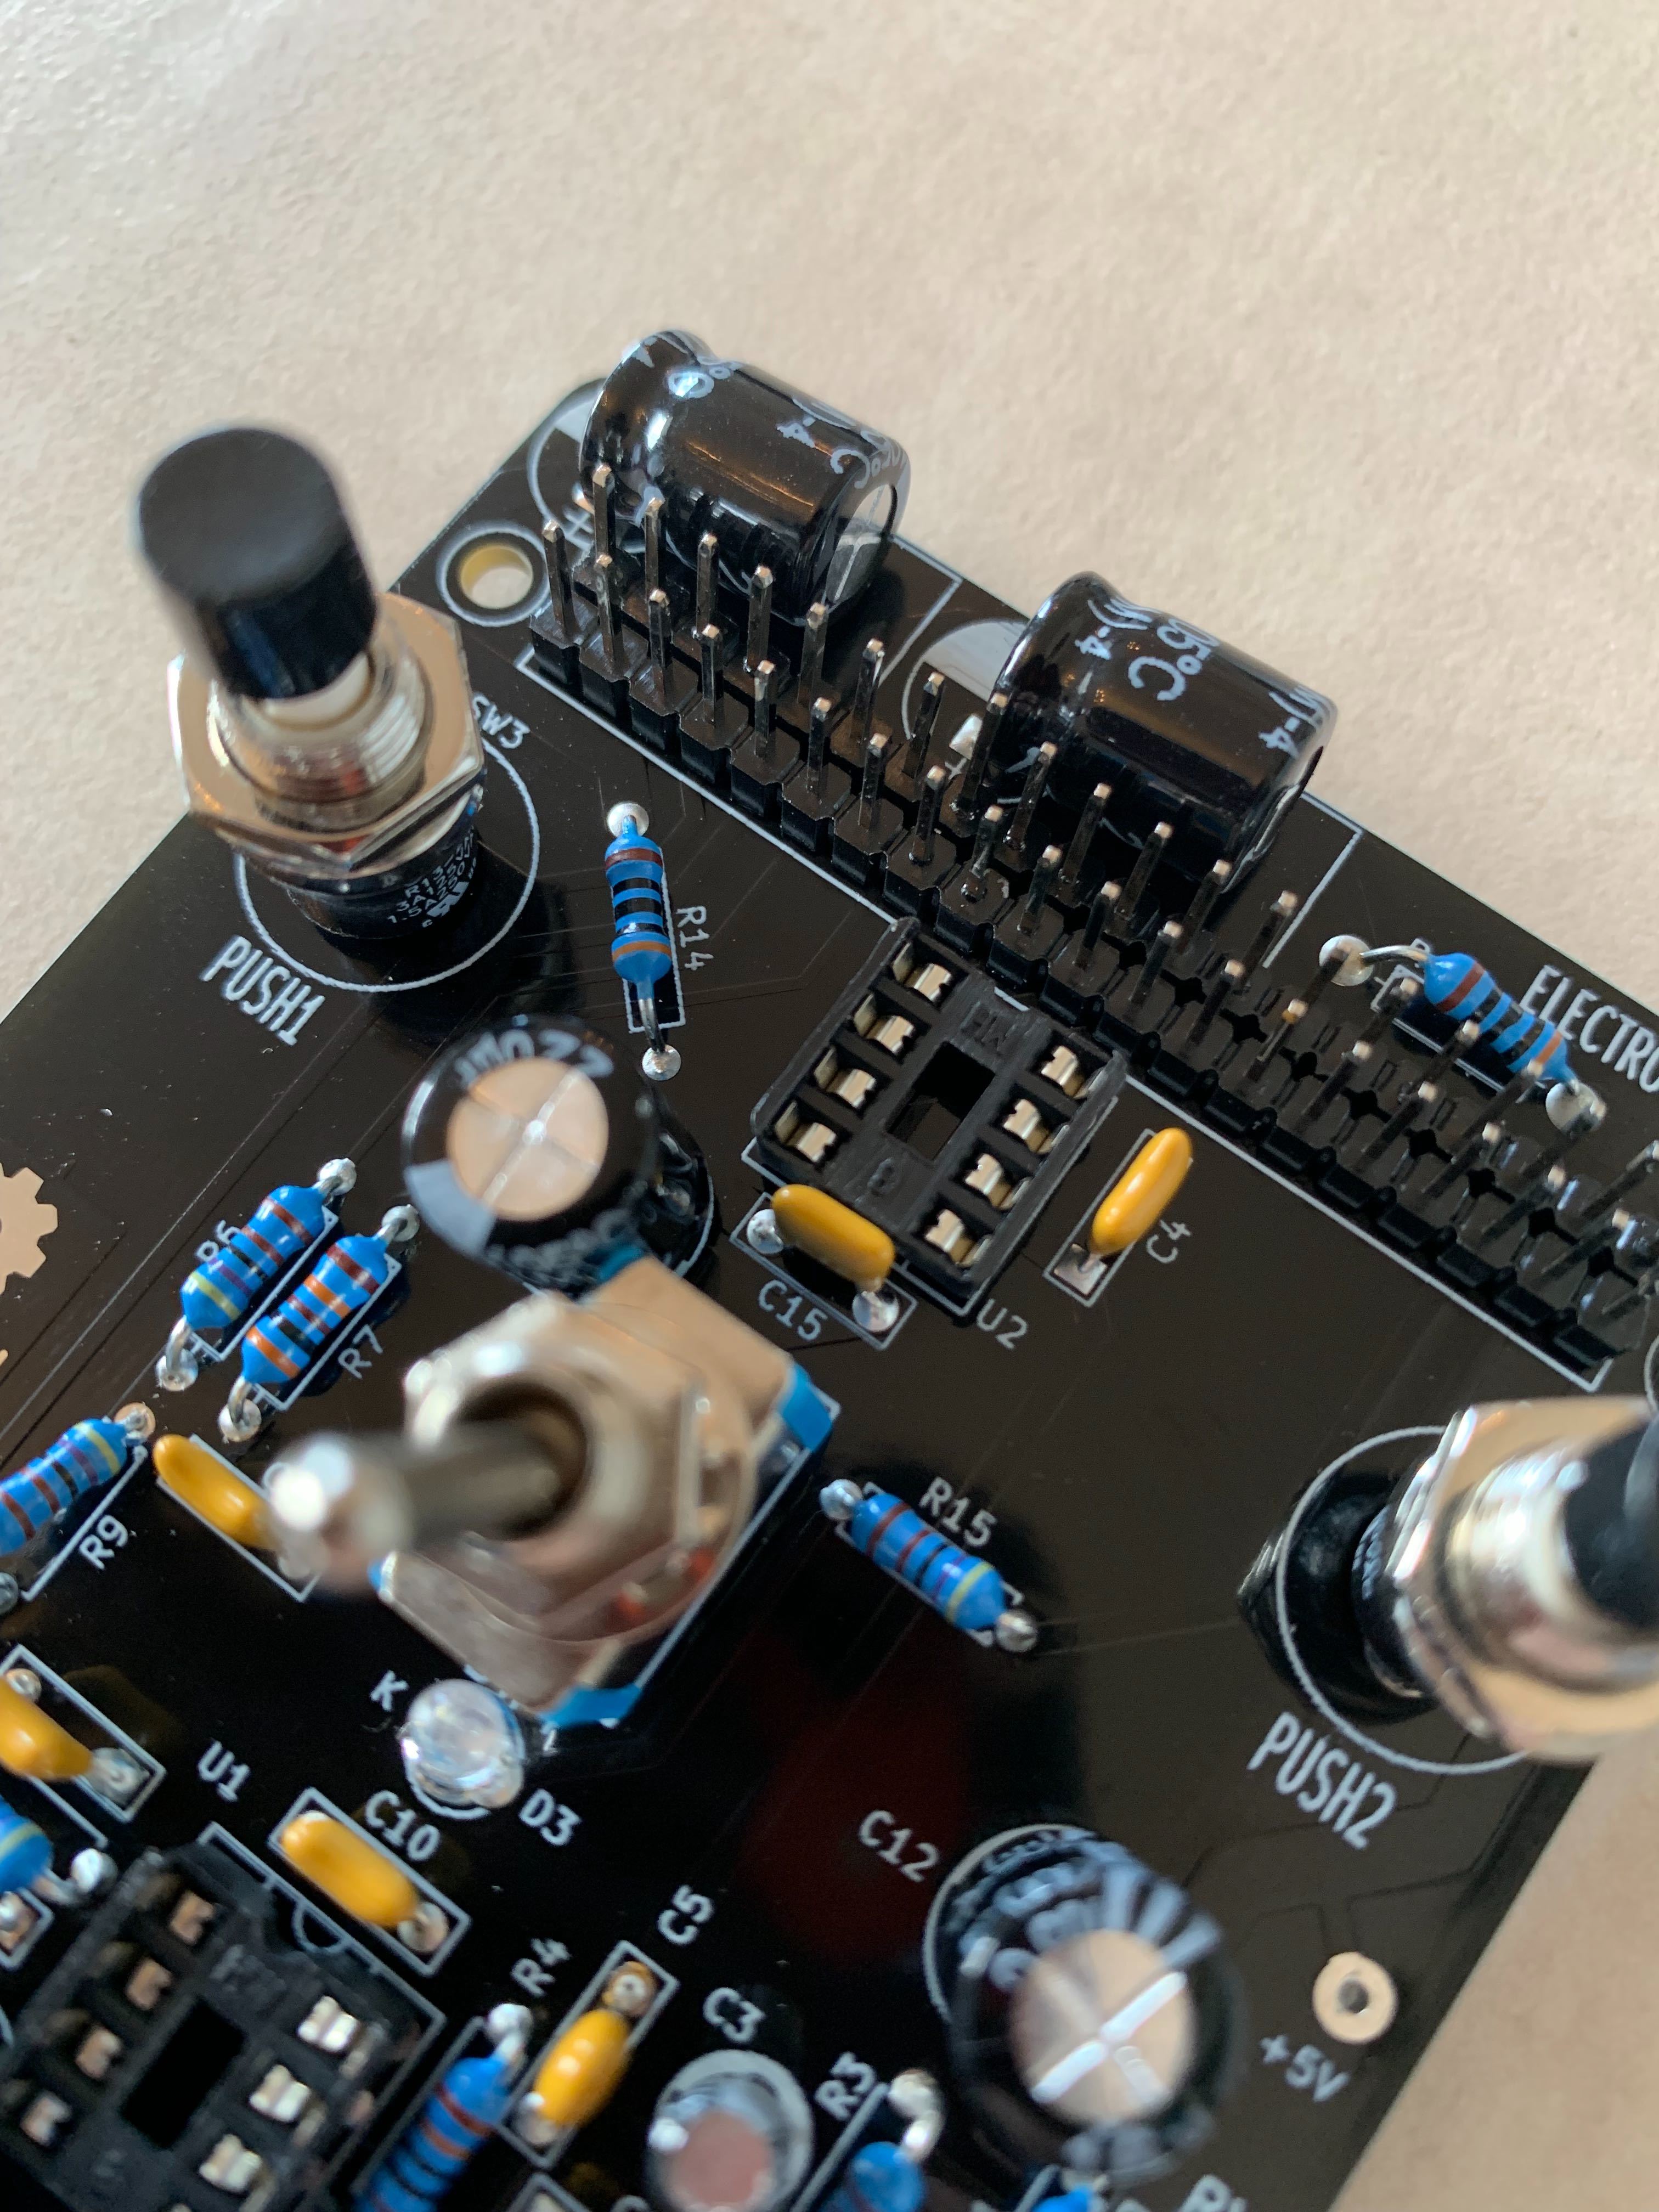
People out in the world were having the same issues I was. The instructions for the Pedal-Pi are pretty thorough and helpful, but there was at least one spot where they seemed to assume a degree of familiarity with DIY electronics that I did not possess. In most cases, the instructions do a great job of letting you know when particular components have polarities that require them to be soldered in place in particular directions. One piece, however, didn’t mention anything about orientation being meaningful. The board uses two IC sockets, and there is a small dimple on one side of each socket to let you know the direction you should place them in. Presumably, this is a thing that those more familiar with circuits would just know. I checked online, though, and I was not the first person to have soldered a dip socket incorrectly. Allegedly, so long as I remember which socket is in backwards and adapt accordingly the board should operate fine. Again, I was happy to know I wasn’t the only one out there making mistakes. The reversed socket is at position U2 in this photo.
- Sound and physical objects. The work in the makerspace has been interesting for the ways in which it has connected me with all the physical aspects of the music process. While it’s an oversimplification, I’ve sometimes thought of my work with music as ephemeral. When you paint something, you have a physical thing. If you sculpt something, you have a physical product. These physical objects persist. But a performance is tied to a particular time and place. Working on the guitar pedal has made me reflect on how my instruments are the product of centuries of engineering. So much making went into configuring my trumpet to help it sound just so, and music making is a deeply physical act. The electronics work in the makerspace has made me want to think more about all the different components of the pipeline, about the ways in which hardware and software affect the production of a musical experience.
Stay tuned for further reflections on this makerspace work in the future - I have one or two things to work out before I’m able to finish the pedal and start tinkering with effects. I’m looking forward to making some noise.